
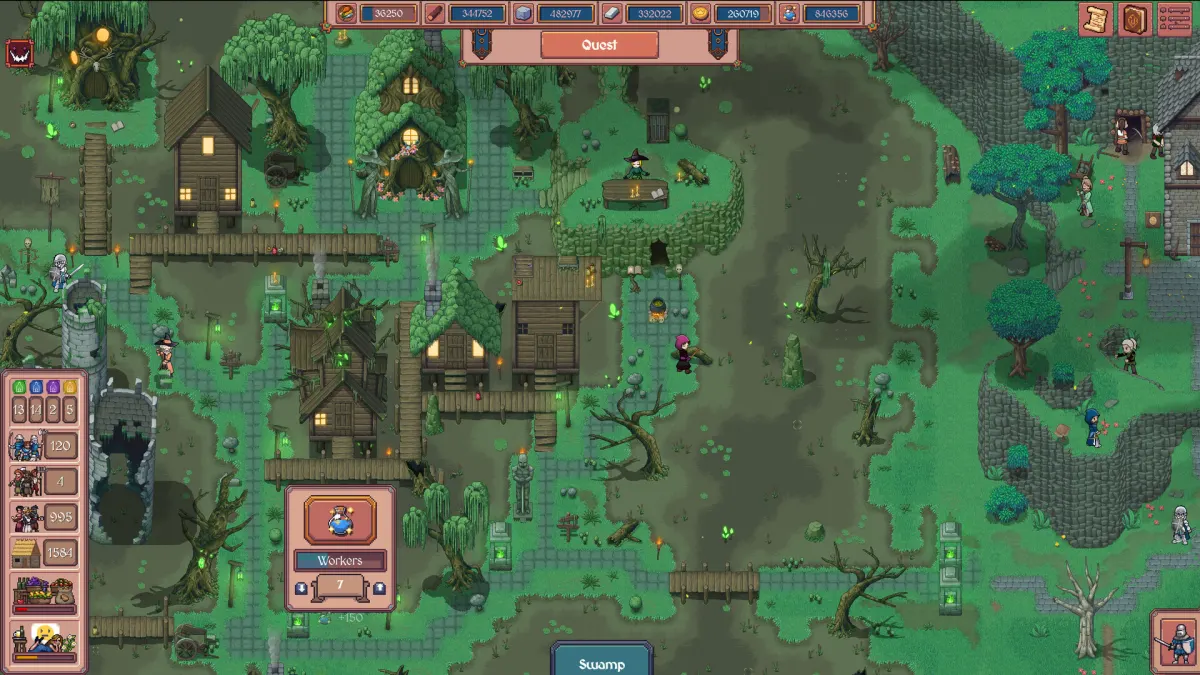
Keep food ahead of population
Food competes for the same limited workforce as wood, stone, and iron. Muhammad Haris Umer's Into Indie Games guide recommends beginning with an even labor split across those four production areas. Use that as a baseline, then adjust it whenever the next purchase exposes a shortage.
- Keep food production staffed while the settlement is adding workers.
- Before expanding, check whether the new construction will pull too many workers away from food.
- If food becomes the immediate bottleneck, move extra labor there until the shortage clears, then restore workers to the other materials.
- Follow the blue Guiding Arrow early on; Umer says it leads to facilities needed to establish the first resource flow.
Use balance as a checkpoint, not a rule. Equal allocation helps expose shortages; focused allocation is how you clear them.
Starving anyway? The mid-game food escalation
Food problems do not end with the early game — the most common complaint in the game's Steam forum is starvation “even though I've almost maxed out the food production buildings,” including on the chillest mode. The community's answer, worked out in that thread, is that food output scales through three systems, and maxing buildings alone skips two of them:
- Research multipliers are the big lever. Upgrading the Blacksmith unlocks the food-buff research line for the Fisher and Farm — worth roughly +50% to +100% output — while Workshop upgrades unlock the same line for the Hunter. Stack the smaller +10% bonuses on top, and buy the +Max Worker research for food buildings so the multipliers have hands to work with.
- Global production bonuses compound. The Blacksmith, Carpenter, and Workshop each carry a global production bonus, and the Town Center, Church, Public House, Alchemist, and Roads add more (some tied to specific materials). There is also a Town Center upgrade that raises every building's productivity scaling with your population — thread participants call it a must-buy.
- Staffing follows a curve, not a flat split. In the early game a few Hunter workers feed everyone; once the market unlocks you want a full Hunter plus a few Farm workers; after ships unlock, the community standard is a full Hunter and a full Farm.
Two economy-side notes from the same discussion: max out laborers before paying for upgrades rather than after, and disband armies you are not actively using — idle upkeep quietly eats the food surplus you thought you had.
Mid-game: trade & defense
The early-game rules above keep a town alive; two mid-game systems decide whether it gets rich. Both are covered in depth on their own pages, but the short version belongs here because players hit them back to back.
Trading beats micro-managing wood and stone
In the trade-discussion thread, one player reports dropping wood and stone workers almost entirely once trade is online — “I have no guys in wood or stone” — because selling into High or Very High demand and buying from Reduced/Low demand outperforms domestic production. The same thread documents the demand cycle: each shipment drops that market's demand tier by roughly one level (restocking about a tier per further trade), so the reliable route is rotating between kingdoms instead of draining one. Demand-tier specifics and route cadence live on our trade guide.
The 40,000-gold wall and how storage actually scales
Ashenholt's soldiers cost 40,000 gold, which appears right as many players discover their storage cap sits near 25,250. The dev-replied thread confirms the intended answers: manor upgrades add gold storage, the +15,000 storage upgrade comes through the normal progression, and pushing past 45–50k cap by that point is expected. If your cap refuses to rise with no upgrades available, note that one player's +15k upgrade silently failed to apply in v1.0.02 and survived the 1.0.03 fix — resolved via Discord save inspection. Verify your storage building level before assuming the wall is genuine; full path on our buildings page.
Sequencing tip: unlock trade first, then spend its surplus on soldier upkeep before Ashenholt's demand arrives. Trading also matters for achievements — Merchant Kingdom needs 20 Distant Kingdom shipments, while Steadfast Resolve demands you never trade with Ashenholt at all.
Happiness vs. taxes
The official Steam description confirms that taxation rules can raise income and that worker policies affect morale. It does not publish a universal safe tax percentage or a complete happiness formula, so there is no verified reason to target a precise early-game number such as 15%.
Change taxes and worker rules in small steps, then read the game's current morale and economy feedback before changing them again. Extra income is only helpful if the policy does not undermine the workforce supporting your resource production.
Version-safe advice: respond to the indicators shown in your save. Fixed tax thresholds can become inaccurate after balance patches and are not documented on the official store page.
The at-least-once rule
Umer's guide frames progression around one central object: the camp, which later becomes the town square. Advancing the town square is the big milestone — but his recommended rule is to earn it. Before moving to the next town-square level, upgrade each of the four core production facilities at least once:
- Fishing hut (food)
- Lumber structure (wood)
- Quarry (stone)
- Iron mining (iron)
The reason is twofold: according to the same guide, facility upgrades increase the per-facility resource output and the resource storage capacity at the same time. A town that levels its square on schedule but leaves gathering at base capacity tends to hit a supply wall immediately after — the classic "new tier, empty storerooms" stall.
Checkpoint habit: before clicking the next town-square upgrade, scan the four facilities. If any is still at its base level, upgrade that one first.
Make research pay twice
Research is usually described by what it unlocks, but Umer's guide points out a second benefit that matters for the early economy: research rewards can include a larger workforce and more resource gain per second. Those two effects compound with everything else on this page.
- A bigger workforce makes the even-split baseline stronger — every production lane gets more hands without re-planning.
- Higher gain per second means temporary focused allocation clears shortages faster, so you return to balance sooner.
- Both effects make the next research purchase easier to afford, which is why Umer recommends prioritizing research before upgrading individual structures.
The exact buffs available at each stage vary with your build and game version; treat "workforce + resource rate" as the pattern to look for in the research panel rather than a fixed upgrade list. Our tech tree guide covers the priority framework in depth.
Common early mistakes
The following pitfalls are derived from Muhammad Haris Umer's published early-game route for Into Indie Games. They are strategy recommendations, not official requirements.
| Mistake | Why it stalls progress | Course correction |
|---|---|---|
| Ignoring the Guiding Arrow | Delays the facilities that establish early production. | Check the blue arrow before placing unrelated structures. |
| Never revisiting worker jobs | A balanced split cannot clear every temporary shortage quickly. | Focus labor on the blocking material, then rebalance. |
| Delaying research | Research permanently unlocks technologies and upgrades. | Keep research in the opening plan instead of treating it as late-game content. |
| Rushing the next town-square level | The existing economy may not support the next wave of demand. | Improve the main resource structures before advancing again. |
| Postponing defense | An expanding realm eventually needs soldiers to protect it. | Umer recommends training soldiers after Town Guards unlocks. |
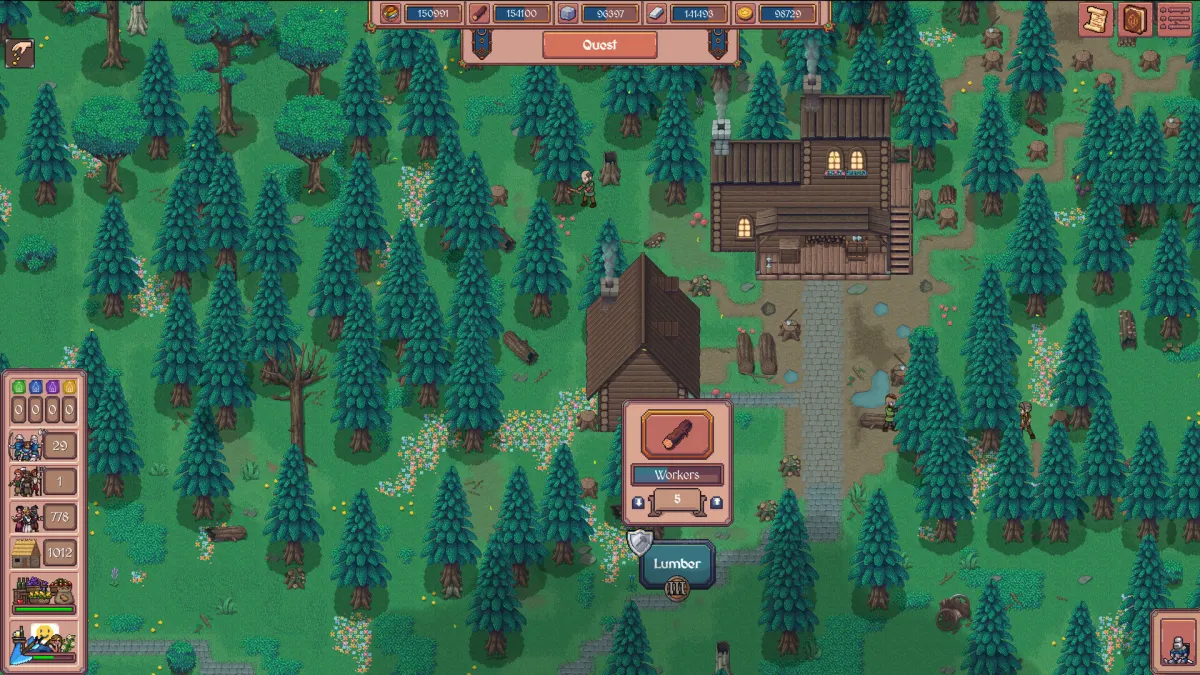
The full reasoning behind this route is available in Umer's Into Indie Games tips and tricks guide.
FAQ
What is the best early tax rate?
No fixed percentage is verified as universally best. Adjust taxes in small steps and use the current morale and income feedback in your save.
Does happiness increase resource production?
The official description connects worker rules with morale and taxation with income, but it does not document an exact happiness multiplier. Keep morale healthy without relying on an unverified coefficient.
Do building upgrades also increase storage?
Yes, according to Umer's Into Indie Games guide: upgrading a production facility increases both its resource output and its storage capacity. That dual effect is why the at-least-once rule exists.
What does research give besides unlocks?
Umer's guide credits early research with buffs such as a larger workforce and more resource gain per second, on top of the permanent unlocks. Exact buffs vary by game version.
When should I stop splitting workers evenly?
As soon as one resource blocks the next important build or upgrade. Concentrate labor there temporarily, then return to a broader split.
When should I start training soldiers?
Umer recommends beginning once Town Guards is unlocked. The official Steam page confirms that soldiers protect the realm, but does not set a mandatory training schedule.
Why is everyone starving even with maxed food buildings?
Because building level is only one of three food systems. The food research lines behind the Blacksmith (Fisher/Farm, +50–100%) and Workshop (Hunter), the global production bonuses, and the right staffing curve (full Hunter, then plus Farm workers as markets and ships unlock) do most of the heavy lifting. The food section above has the full breakdown.
Why am I not getting more workers?
Workers trail population by design, and the gap widens as you progress: each new worker needs more population than the last (roughly one worker per 14 population in the developer-endorsed community example). Hover the status icons in the bottom-left corner to see where you stand. At the population cap no new workers arrive at all, so if the count is stuck, raise housing first. The same math runs in reverse after battles — our combat FAQ explains why a won fight can still cost you a worker.
Is trading worth it in the mid game?
Yes — multiple players report it outproducing wood and stone workers entirely. Sell into High/Very High demand, buy from Reduced/Low, and rotate kingdoms because each shipment drops the local demand tier. Route details on our trade page.
What is congestion?
Congestion is a late-game happiness malus that shows up once your population is high — the community's own definition, from the Steam thread where two players had to ask what it even was. The developer has since answered that thread directly (September 5, 2026): “Yeah, nothing you can do about Congestion.” The city is “just getting bigger/noisier/more crowded,” and the happiness hit is meant to be offset by your other positive upgrades — his example: “Sure, it's crowded, but there is a great tavern!” No population threshold or exact penalty value is public. Treat it as a fixed cost of running a big city and stack happiness elsewhere (entertainment buildings, gentler tax settings).
My gold storage is stuck below the 40,000-gold quest. What do I do?
Check three things before assuming a bug: manor upgrades (they add gold storage), library-sold blueprints, and the +15,000 storage upgrade in your progression path. One player's upgrade failed to apply silently and needed a Discord save fix, so if storage refuses to rise with upgrades visibly available, report it with your save attached.
Sources
- Hearth and Hamlet on Steam (Phorust Studios) ↗
- Starvation is so hard - Steam thread with community food-scaling math ↗
- Hearth and Hamlet: Best Early Game Tips and Tricks (Into Indie Games) ↗
- How to deal with congestion? - Steam thread (community definition + developer answer, Sep 5, 2026) ↗
- Worker count vs Population - answered Steam thread on worker growth and the population cap ↗